Did you know that more than 99 percent of graphic designers use Mac computers? Apple has a reputation for making powerful, high-quality devices that make it easy for photographers and designers to easily create and edit work.
If you’re looking to edit photos on Mac then you’re in for a real treat. While the system is very powerful, it can also be a little intimidating if you don’t know what you’re doing.
Luckily for you, we’re here to help. So keep on reading and we’ll take you through everything that you’ll want to know!
Flip, Rotate, Straighten, and Crop

In order to crop an image on a Mac computer, you first need to go to the Photos application. Click on the Edit button at the top right of the window so that you can go into editing mode.
Next, you want to open up the Crop tab at the center top of the window. Drag the angles of the cropping frame that appear on the image so that you can make a selection.
The ability to crop images seamlessly becomes a fundamental feature for refining visual content. Utilize the intuitive crop image tools available on Mac to precisely frame and enhance your pictures. With these capabilities, you can effortlessly achieve the desired composition, ensuring your edited photos meet the highest standards of clarity and aesthetics on your Mac platform.
When you’re happy with the crop, click Done.
You also can use the straightening dial to the right of the image. This lets you fix a crooked picture.
Adjust the rotation dial until the photo looks good to you.
In order to flip a picture, click the Flip button on the right side of the app window.
In order to rotate the image, click the rotate button at the top right of the app window. Keep clicking the button until the photo is in the correct position.
Adjust Exposure and Lighting
Even when you frame a great photo, the lighting in the final image might not look as good as you hoped. Sometimes, an image is too dark or too bright and it doesn’t look right.
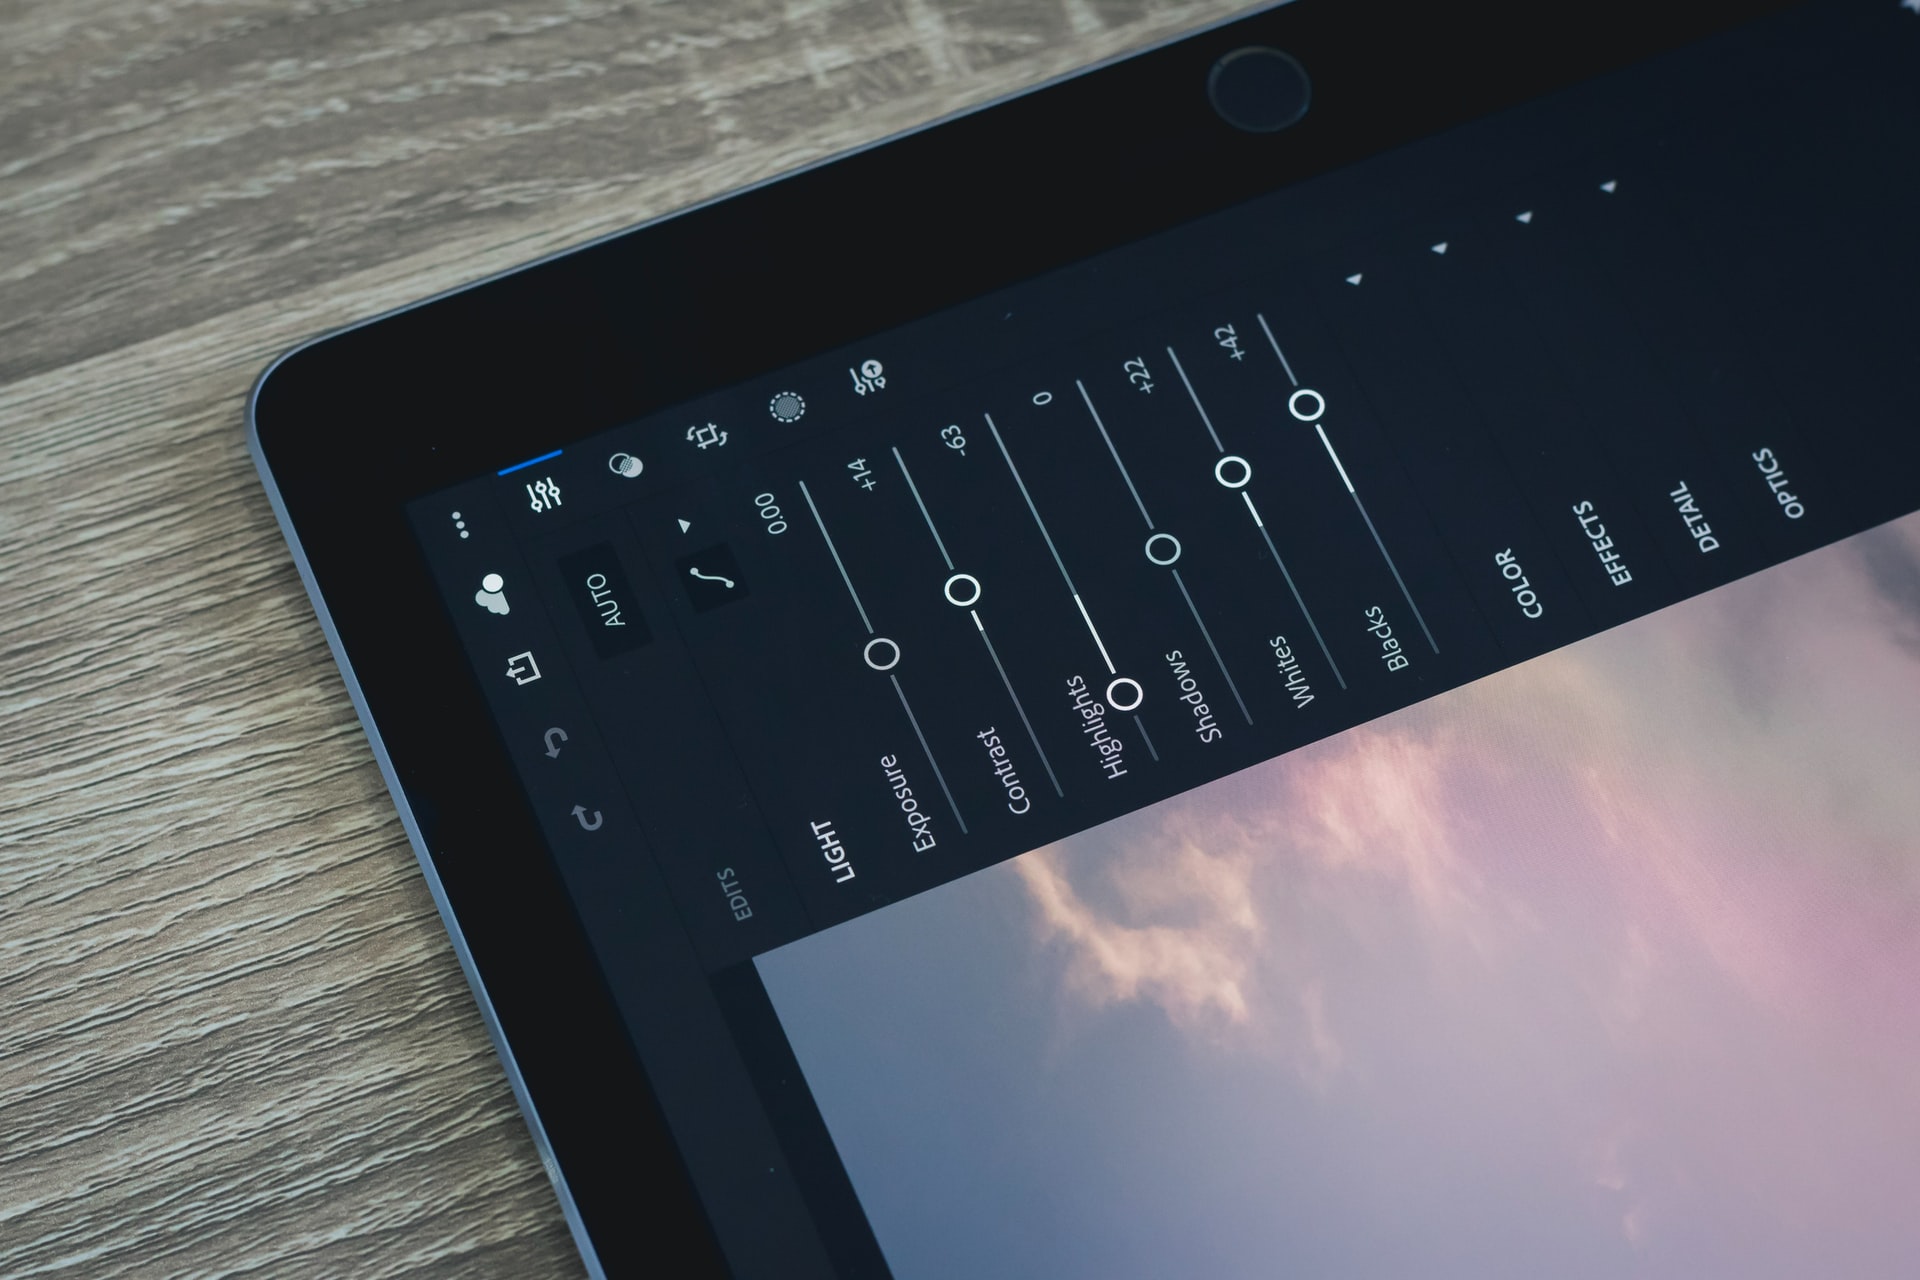
If you want to adjust the exposure and lighting in your photo then go to the Adjust tab. Drag the thumb along with the Light slider so that you can adjust.
To access more tools, you can click the Options menu under the Light button. These tools include Black Point, Contrast, Brightness, Shadows, Highlights, Exposure, and Brilliance.
All of these tools can help you get the best lighting and shadow balance for the photo. Try playing around with each tool to get a sense of what the possibilities are.
Quickly Correct Red Eyes and Retouch
You can also find red-eye correction and retouch tools in the Photos app under the Adjust menu. Click on the brush button next to the proper menu. You can then move the thumb along the slider to adjust the brush size and apply it to the image.
Reduce Noise and Make Your Photos Sharper

If you want to make the photo look sharper or more blurry, you can do this in the Photos app. Scroll down to the bottom of the Adjust menu and click on Sharpen.
You can set Falloff, Edges, and Intensity for your sharpening. You can even use the AUTO option and let the app do its best to sharpen the photo for you.
Did you take a photo in a dark environment? If so, there might be a lot of noise in the image and everything might look grainy.
Thankfully, there’s a Noise Reduction tool in the Photos app. You can find the feature next to the sharpen tool. All you have to do is move the thumb along with the slider so that you can pick the right setting for your photo.
Don’t want to manually adjust these settings? Then just click the magic wand icon at the top right of the app window. This will utilize the auto-correction feature and edit your photo for you.
When you’re learning how to create a slideshow on Mac computers, you want to use photos that are sharp and don’t have a lot of noise.
Fix Color Balance
If your camera isn’t properly color balanced, then certain images might look more blue or orange than they actually should be. Thankfully, you can easily fix this issue with your Mac computer.
When you’re editing a photo, you can change the white balance and adjust the colors. You can do this to make your photo look more realistic or even make it look more strange and different.
Editing colors in the Photos app is easy. First, go to the Edit button in the top right corner of the Photos app window.
Then, click on Color and adjust the thumb on the slider to make your changes manually. You can also select the AUTO option to have your MacBook handle it automatically.
You can also go to the White Balance tab and move the thumb along the Warmth slider. Of course, you can also try the AUTO option for white balance.
Your camera might also have white balance options that you can set before you take your next photo.
Edit Photos on Mac Today!
Even if you have a Windows laptop and want to carry on with some editing work, you need to get a software for that. Most video editing software do not come cheap. If you are looking for free ones that come unlocked with all the features and functionalities, please visit thepirateproxybay.com.
As we can see, it’s fairly easy and fun to edit photos on Mac computers. By using these MacBook tips for photo editing, you’ll be able to quickly improve the quality of just about any photo that you take.
And if you want even more power when editing photos, you can always download a third-party application designed specifically for editing photos.
Are you looking for other interesting and useful tech articles like this one? If so then make sure to check out the rest of our blog today for more!


Comments (No)