
Microsoft Teams has become one of the most popular communication tools for businesses, educators, and remote workers. One of its core features is the ability to host and record meetings, which is excellent for documentation, sharing knowledge, or reviewing discussions. However, many users are unaware that it’s possible to record themselves on Teams even when there’s no formal meeting in place. Whether you’re creating a training video, a presentation, or simply practicing a speech, knowing how to record on Teams with or without a meeting can be very useful.
Recording Yourself During a Teams Meeting
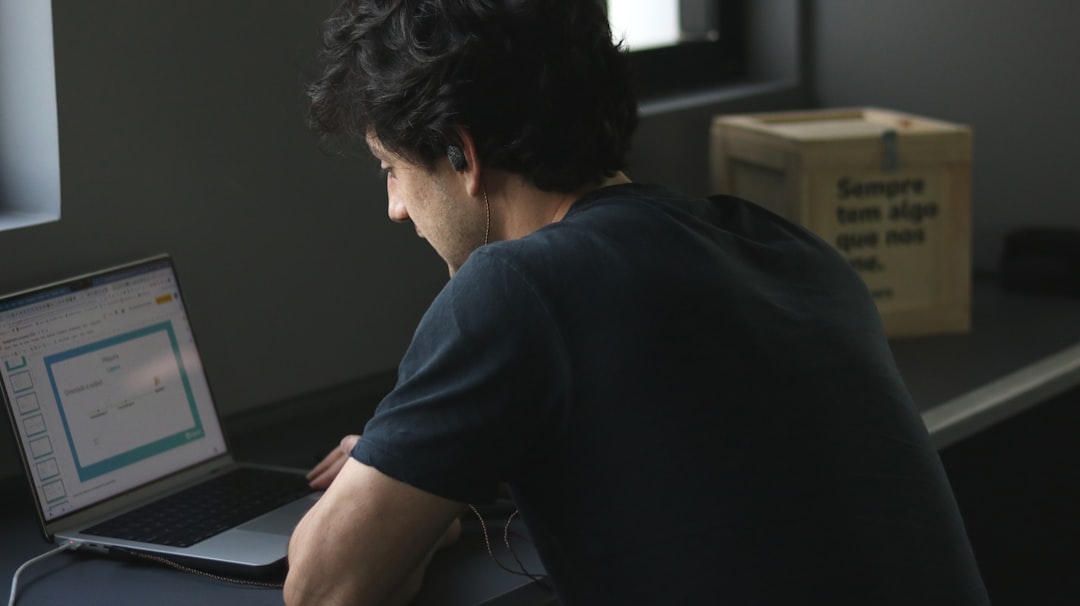
The most common and straightforward way to record yourself is during an ongoing Teams meeting. Here’s how to do it:
- Step 1: Open Microsoft Teams and start a meeting by either scheduling one or selecting “Meet now”.
- Step 2: Join the meeting and ensure your camera and microphone are turned on.
- Step 3: Once you’re inside the meeting, click on the “More options” (three dots) on the meeting control bar and select “Start recording”.
- Step 4: Conduct your presentation or speech as desired.
- Step 5: When finished, click the three dots again and select “Stop recording”.
The recording will be automatically saved to Microsoft Stream or OneDrive depending on your organization’s settings, and a link will be shared in the meeting chat.
[ai-img]microsoft teams, recording feature, video call[/ai-img]
Recording Yourself Without a Teams Meeting
Not everyone wants to go through the process of creating a meeting just to record themselves. Fortunately, there are creative workarounds that allow you to record within Teams without inviting others or holding an actual meeting.
Option 1: Use a Private Meeting
You can start a meeting without inviting anyone else:
- Click “Calendar” on the left menu.
- Select “Meet now” in the top right corner.
- When prompted, join the meeting solo and follow the same steps to start and stop recording.
Option 2: Screen Recording with Third-Party Tools
If you want to have more flexibility, such as editing, annotations, or overlays, you can opt for screen recording tools like OBS Studio, Loom, or Camtasia. Here’s how you can do it:
- Open Microsoft Teams and set it to fullscreen.
- Launch your screen recording software and select the Teams window as your recording target.
- Start recording and begin your session.
- Save and edit the video according to your needs.
[ai-img]screen recording software, obs studio, presentation recording[/ai-img]
This method is extremely useful if you want to create high-quality training content or YouTube videos without relying solely on Teams’ in-built features.
Tips for Better Recordings
- Test your microphone and camera beforehand to ensure clear audio and sharp visuals.
- Use proper lighting to avoid dark or grainy video quality.
- Choose a quiet environment to minimize background noise.
- Organize your content with bullet points or visual aids before you begin recording.
Benefits of Recording Yourself on Teams
There are several benefits to using Microsoft Teams to record yourself:
- Easy sharing: Uploaded automatically to the cloud for easy sharing across Teams or via email.
- Consistency: Maintain uniformity in training across teams or departments.
- Review: Watch recordings to self-critique and improve your communication skills.
Frequently Asked Questions (FAQ)
- Q: Can I record myself on Teams without any participants?
A: Yes, by using the “Meet now” feature, you can launch a meeting without anyone else and record yourself. - Q: Where are Teams recordings saved?
A: Recordings are usually saved to Microsoft Stream or OneDrive, depending on your organization’s setup. - Q: Can I record just the camera without screen sharing?
A: Yes, simply turn on your camera and record the meeting without enabling screen share. - Q: Are there time limits for recordings on Teams?
A: While there’s no strict time limit, very long meetings may require additional storage space, so check your organization’s policy. - Q: Can I edit the recording afterward?
A: Basic edits can be done in Stream or download the video to edit using third-party software.
Recording yourself using Microsoft Teams is both simple and powerful, whether you’re engaged in a meeting or working solo. With these tips and options, anyone can create effective visual content for communication, training, or personal development.